On this page
About the Tile
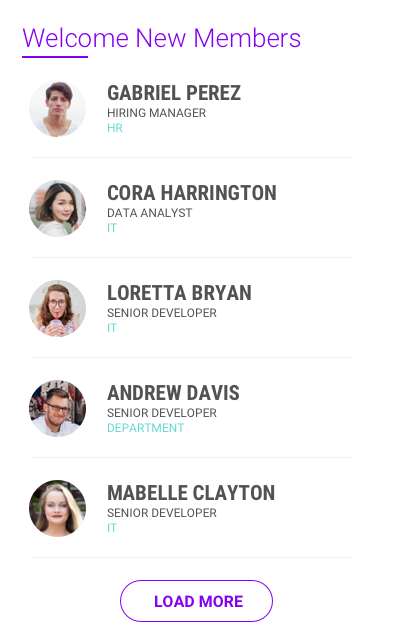
This tile allows you to display a list of new members to your community (based on hire date) with some profile field details. You can configure the tile’s title, colors, fonts, how many standard profile fields to display, as well as a time frame for displaying these people (15-180 days) and how many to show at a time.
Configuring the Tile
Please refer to these instructions upon Installing Your Tile
Once you’ve installed the tile in your community, you can then add it to the page you want it to appear upon. To access the tile’s configuration panel for editing in the future, click the gear icon in the upper right corner of the tile.
You are now ready to configure the tile.

Configuring the Sections
Select Setup in the configuration panel.

Enter text for the Tile title. This text is the large headline for the tile.
Enter the number of initial results that will display on the screen before clicking Load More.
The Time Span indicates how far back in time the tile will look for new people to display. (In this example, the tile will display people who “joined” in the past 60 days”.
By default, the Display options will show a person’s location, job title and department in addition to their name. Uncheck a box to remove a profile field from view.
Save All now before moving on to the next section. Scroll to the bottom of the tile and click the Save All button.
Note: You are not required to save after editing each section; however, we recommend you do to avoid accidentally closing the configuration panel without saving. You can click Cancel to cancel all your changes and leave the configuration panel.
Configuring the Theme
Select Theme to open the configuration options.
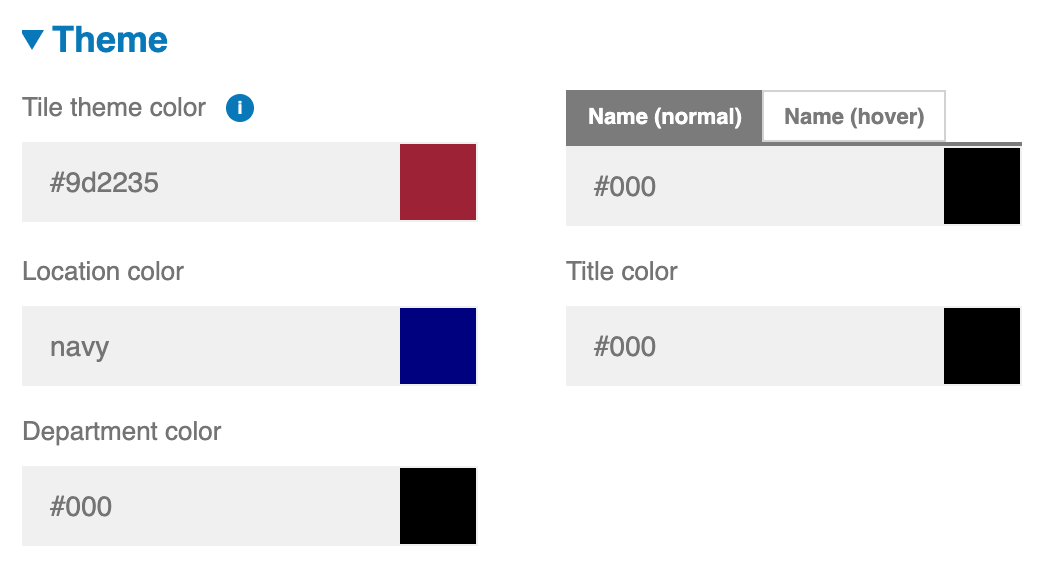
Enter the hexadecimal code for the Tile theme color. This color applies to the title, the underline color and the Load More button. If you don’t know the hexadecimal value, convert your colors at http://rgb.to
Enter the hexadecimal code for the Location, Department, and finally the Name and the hover over color for the Name.
Note: As you enter various hexadecimal codes for these elements a color preview is generated for you.
Adding Custom HTML
Optional: Custom HTML can be added in either or both the header and footer of this tile. For more instructions, see this tutorial.
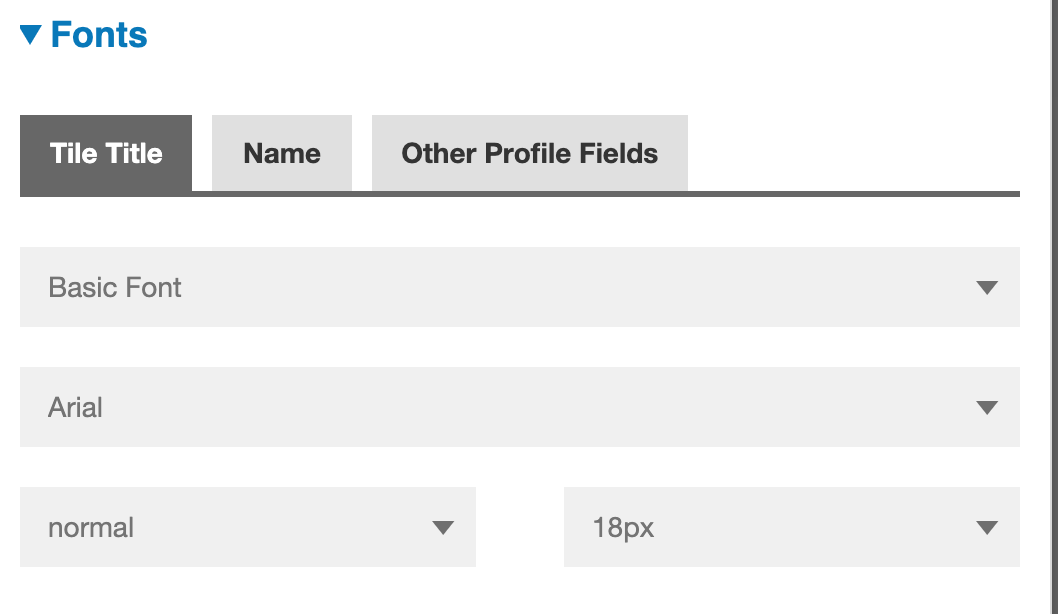
Configure Fonts
General instructions are listed in the above guide. For this tile, you can configure fonts for the Tile Title, Name of the person, and Other Profile Fields.
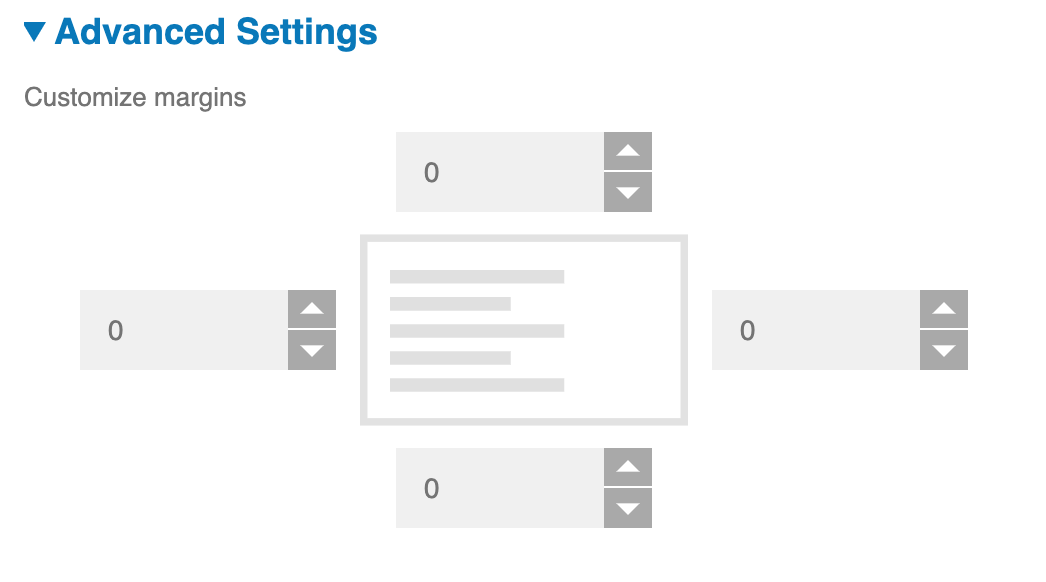
Configure the Advanced Settings
Customize Margins. Set extra padding between this tile and other tiles on the page if desired.